Quick Answer
To make a wig, you need a wig cap (or a mold of your head), hair wefts or bundles, a needle and thread, and basic wig-making tools. The process involves ventilating or sewing wefts onto the cap, then styling and finishing the wig. The most common mistake is using a cap that doesn’t fit your head shape, which causes the wig to slip or look unnatural. Always measure your head carefully and choose a cap size that matches your measurements.
How to Make a Wig from Scratch
Making a wig from scratch is a rewarding project, but it requires patience and the right materials. Here’s a step-by-step guide to creating a custom wig.
What You’ll Need
- A wig cap (or a wig block/mannequin head)
- Hair wefts (human hair or synthetic)
- A curved needle and strong thread (or a ventilating needle)
- Scissors
- A comb or brush
- Wig clips or elastic bands (optional)
- A wig stand or block
Step 1: Measure Your Head
Use a flexible tape measure to measure the circumference of your head, from your hairline at the forehead, around the back, and back to the front. Also measure from ear to ear over the crown, and from the front hairline to the nape of the neck. Compare these measurements to a wig cap size chart to choose the correct cap size. A well-fitting cap is the foundation of a wig that stays put and looks natural.
Step 2: Prepare the Cap
Place the wig cap on a wig block or your own head if you’re using a self-adhesive cap. If the cap is too large, you can sew darts to tighten it; if too small, you may need a different size. Secure the cap with pins if using a block. Make sure the cap is smooth and wrinkle-free.
Step 3: Attach the Wefts
Starting at the nape (back bottom) of the cap, sew the wefts horizontally, row by row, working upward. Use a whip stitch or a blind stitch, securing each weft firmly. Overlap each row slightly (about half an inch) to ensure full coverage. Continue until you reach the crown or the hairline, depending on the style you want. For a natural parting, you may want to ventilate the hair strand by strand in the parting area.
Step 4: Ventilate the Hairline (Optional)
For a realistic hairline, use a ventilating needle to knot individual hairs into the lace or the cap edge. This is time-consuming but creates a natural-looking hairline. If you’re a beginner, you can skip this step and rely on baby hairs or styling to blend.
Step 5: Style and Finish
Once all wefts are attached, turn the wig right side out. Trim any excess lace or cap material. Style the wig as desired—curl, straighten, or cut it. Secure the wig with clips or elastic bands if needed. Try it on and make adjustments for fit and comfort.
How to Make a Wig from Your Own Hair
If you want a wig made from your own hair, you’ll need to collect your hair first. This is a longer process but can be done at home.
Step 1: Collect Your Hair
Gather hair from your brush, shower drain, or ask a stylist to save your cut hair. The hair must be clean and dry. You’ll need a significant amount—typically 2 to 4 ounces for a full wig. Store the hair in a sealed bag or box to keep it tangle-free.
Step 2: Prepare the Hair
Sort the hair by length and direction (all strands should face the same way). You can use the hair as wefts by sewing them onto a track, or you can create your own wefts using a sewing machine or hand stitching. If the hair is curly, you may want to straighten it first for easier handling.
Step 3: Build the Wig
Follow the same steps as making a wig from scratch, but instead of using commercial wefts, use your own hair wefts. Sew them onto the cap in rows, starting from the nape. For a natural look, consider ventilating the hairline with your own hair.
Step 4: Finish and Style
Once all hair is attached, trim and style as needed. Remember that your own hair may be more fragile than commercial wefts, so handle it gently.
How to Make a Wig Stay On
A wig that slips is frustrating. Here are proven methods to keep your wig secure.
Method 1: Use Wig Clips
Sew small wig clips (combs) inside the cap at the temples and nape. These clip into your natural hair and hold the wig in place. This is the most common and least damaging method.
Method 2: Use an Adjustable Strap
Most wigs come with an adjustable strap at the back. Tighten it to fit your head snugly but comfortably. If your wig lacks one, you can sew a simple elastic band across the back.
Method 3: Apply Adhesive (for Lace Wigs)
For lace wigs, you can use a wig adhesive or tape along the hairline. Apply a thin layer to your skin, wait for it to become tacky, then press the lace down. Always do a patch test first to ensure you don’t have a reaction. Remove with an alcohol-based remover, and never pull the wig off without dissolving the adhesive.
Method 4: Wear a Wig Grip or Cap
A velvet wig grip or a snug wig cap adds friction and prevents slipping. These are inexpensive and easy to use.
Common Mistakes
- Using the wrong cap size: A cap that’s too large or too small causes slipping and discomfort. Always measure your head first.
- Sewing wefts too tightly: This can pull the cap out of shape and make the wig look unnatural. Leave a little slack.
- Ignoring hair direction: All wefts should lie in the same direction (usually downward). Mixing directions makes the wig look messy.
- Skipping the hairline ventilation: A blunt hairline is a dead giveaway that the wig is a wig. Take time to ventilate or style baby hairs.
- Overloading the cap: Adding too much hair makes the wig heavy and can stretch the cap. Use a moderate amount of wefts.
- Not securing the wig properly: Relying solely on the cap’s fit without clips or adhesive leads to slippage. Use at least one securing method.
Aftercare for Your Wig
After making your wig, proper care extends its life. Wash it every 6-8 wears for human hair (or when it feels oily). Use a gentle sulfate-free shampoo and cool water. Condition and let it air dry on a wig stand. Store it on a stand or in a silk bag to prevent tangling. Avoid heat styling too often, and always use a heat protectant.
FAQ
How long does it take to make a wig?
It depends on the method. A basic wefted wig can take 10-20 hours for a beginner, while a ventilated wig can take 40+ hours. Patience is key.
Can I make a wig without a sewing machine?
Yes, you can hand-sew wefts onto the cap. It’s slower but doable. Use a curved needle and strong thread.
How much hair do I need to make a wig?
Typically, 2-4 ounces of hair for a full wig, depending on the density you want. For a natural look, 3 ounces is a good starting point.
Can I make a wig from synthetic hair?
Yes, synthetic wefts are easier to work with and cheaper, but they don’t last as long and can’t be heat-styled as easily. Human hair gives a more natural look and can be styled with heat.
When a New Wig Might Be the Better Option
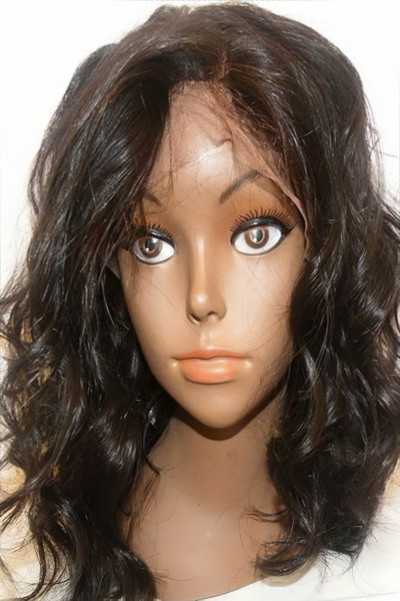
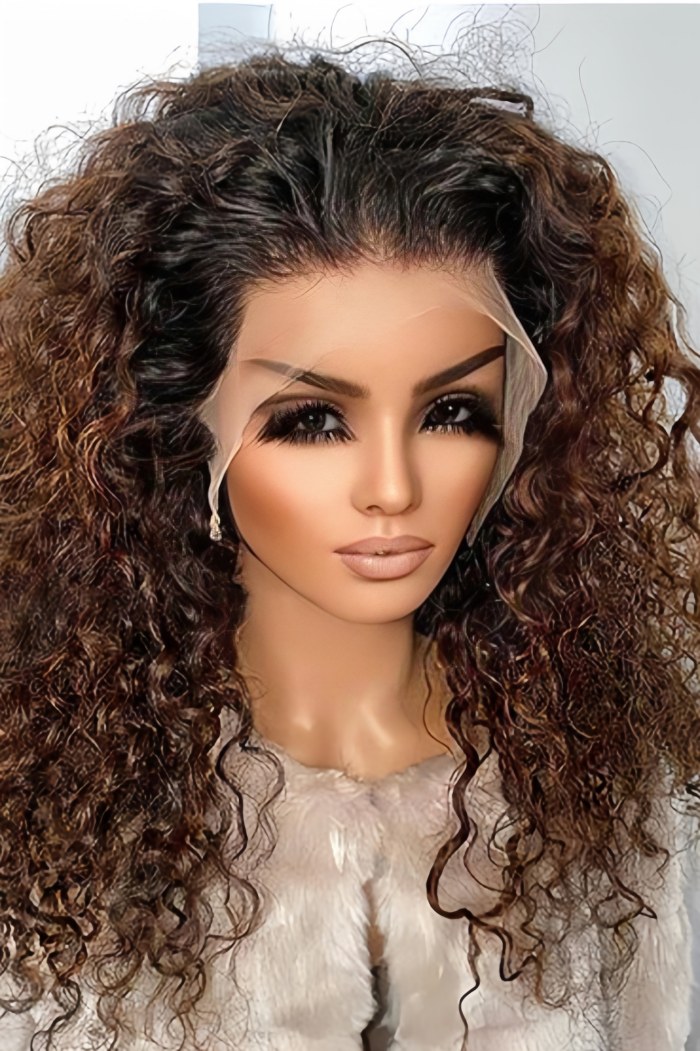
Making a wig is a labor of love, but sometimes buying one saves time and ensures a professional finish. If your DIY wig didn’t turn out as expected, or if you need a reliable wig quickly, consider a ready-made option. For a natural look with minimal effort, a full lace wig from LaceWigsBuy is a solid choice. The 14” Body Wave Full Lace Wig offers a glueless cap and 100% Indian Remy hair, making it easy to wear and style. If you prefer a longer length, the 20” Body Wave Full Lace Wig is another great option. For those who want a 360-degree lace, the 20” Deep Wave 360 Lace Wig provides versatility. Explore the Human Hair Wigs collection to see more choices.

About WigAnswers
WigAnswers is an independent, English-language wig guide site. We are not owned by any wig brand or retailer. Every guide opens with a direct answer, and our product recommendations are editorial picks that link to third-party retailers. For more wig advice and tutorials, visit our homepage at wiganswers.com.